From git push to production: the complete path, step by step
Published on 2026-09-12 by frfrand
Qué pasa exactamente entre que subís un commit y tu sitio se actualiza, cuáles son los tres puntos donde se rompe, y cómo leer los logs para saber cuál fue.
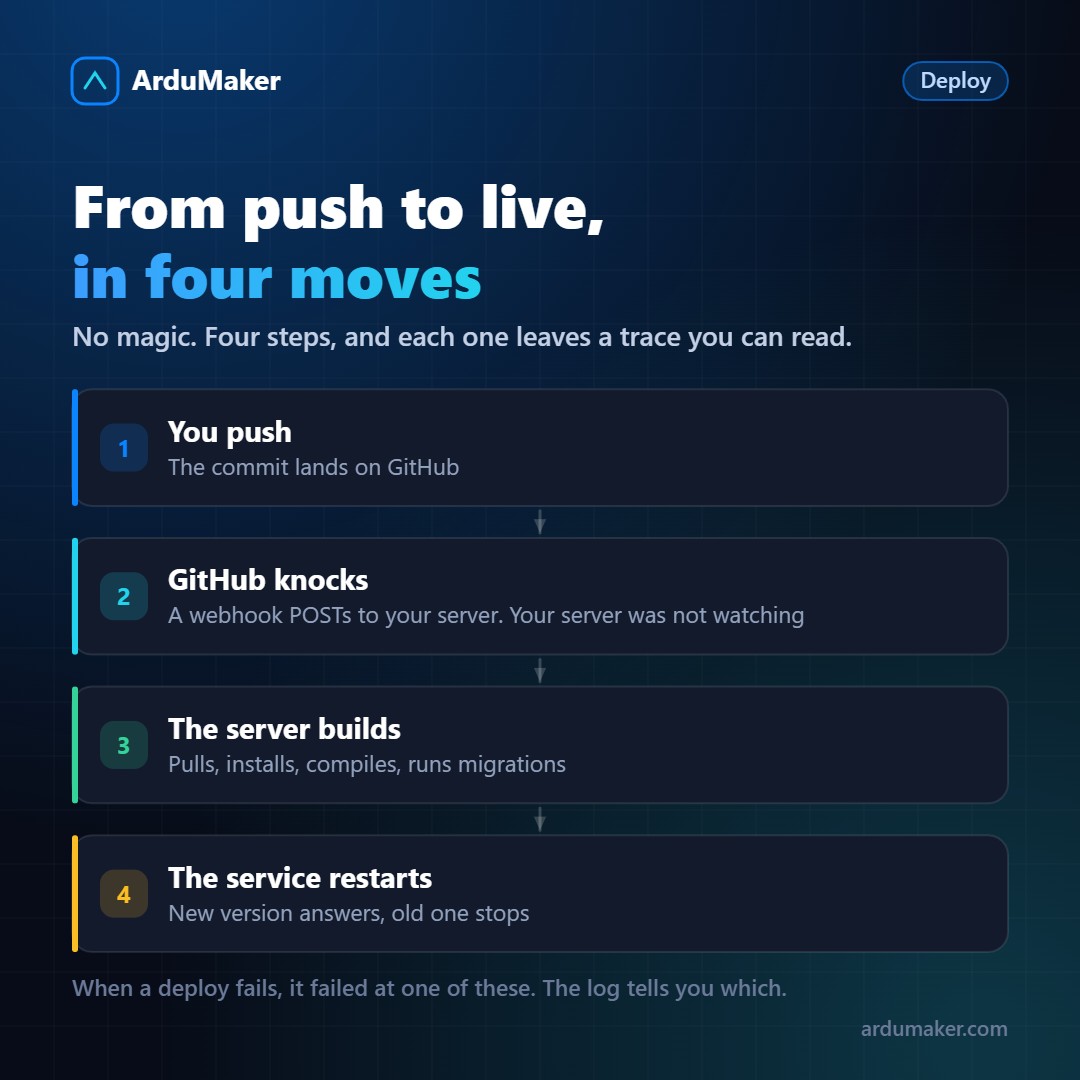
You run git push, wait thirty seconds, and your site is updated. What happens in between are four very concrete steps, and knowing them turns "the deploy didn't work" into a two-minute diagnosis.
Step 1: the commit reaches the repository
Your push sends the new objects to the remote. Up to this point, nothing has to do with your server.
If the push failed, the problem is with Git or permissions, and a deployment hasn't even started yet.
Step 2: GitHub knocks on the door
Here is the detail that most confuses those who are starting out: your server does not check GitHub every so often. That would be a waste and would arrive too late.
It's the other way around: GitHub sends an HTTP request to an address of yours. That is a webhook.
Your server receives that message, verifies that it comes signed with the shared secret (otherwise anyone could trigger deployments), and only then does it start working.
How to diagnose this step: GitHub keeps the history of each webhook with its response. If the deployment didn't start, that history says it all. A 404 means the address is wrong. A 500 means your receiver failed. A timeout means the server didn't respond.
This is the first place to look, and the one that most often solves the problem.
Step 3: the server builds
The server downloads the code and executes the project's build commands:
git pull npm install && npm run build # or pip install -r requirements.txt python manage.py migrate # if there are migrations
It is the longest step and the one that fails most often, almost always for two reasons:
- A new dependency that is on your machine and was not installed on the server.
- Memory. Compiling a modern frontend consumes quite a bit of RAM, and on a small VPS the process can die halfway through. The symptom is a log that cuts off abruptly, without a clear error. If you see that, check if the system killed the process due to lack of memory.
A decision worth considering: building on the server is simple and does not require extra infrastructure, but it consumes resources from the same server that serves users. Building outside and uploading the already compiled result is lighter in production, at the cost of more pieces.
Step 4: the service restarts
The new code is on disk, but the running process is still the old one, with the previous code loaded in memory. It needs to be restarted:
systemctl restart miapp
And here comes the gap: between the old process dying and the new one responding, two to ten seconds pass where no one is attending. The user sees a 502.
To avoid this, you have to invert the order: start the new version, wait for it to respond, send it traffic, and only then shut down the old one. For that, it is convenient to have a health route that says "I am really ready now".
If your site is static, this step does not even exist: the new files are already on disk and nginx serves them.
The summary worth having at hand
- Nothing was triggered → the webhook. Check the delivery history on GitHub.
- It was triggered and failed → the build log. Dependencies or memory.
- It finished fine but the site is still the same → the service was not restarted, or there is cache ahead.
- 502 right after publishing → it is the restart gap. If it lasts, the app did not start: check its log.
In ArduMaker these four steps are configured once from the panel (repository, branch, commands, domain) and each deployment keeps its full log, so the question "at which of the four did it break?" is answered by looking, not guessing.